Introduction
Oh my goodness! I recently discovered an amazing home renovation trick that totally blew my mind! Are you struggling to find a suitable space for working from home? Do you think rent is too expensive but want your own private office space? Don't worry, let me tell you about an incredible solution right in your home - yes, that cluttered, about-to-explode closet! Today I'll show you step by step how to transform an ordinary closet into a practical and stylish home office in the most budget-friendly way. It's absolutely amazing!
Design Concept
To be honest, I never thought a closet could be used this way. When I first started working from home, I was constantly searching for a quiet work environment. The coffee table was too low and hurt my back, the dining table was too high and strained my neck, and working from bed nearly ruined me. Then one day, while staring at my 1.2-meter wide closet, I had an epiphany - why not convert it into an office space?
When I first had this idea, even I thought it was a bit crazy. But you know what? When I looked it up online, I found out that people abroad had already taken this concept to the next level! They even gave this type of renovation a fancy name: "Cloffice" (a forced combination of Closet and Office). And it's super trendy now - according to major interior design websites, searches for this type of conversion increased by 235% in 2023 compared to the previous year! That proves this idea is totally viable!
Implementation Details
Initial Preparation
First, you need to mentally prepare yourself, because emptying the closet will definitely make you question your life choices. When I cleared out my closet, it was like an archaeological dig, unearthing many "relics": an unopened hair dryer from three years ago (what was I thinking?), expired face masks from five years ago (would I ever use them?), textbooks from seven years ago (why did I keep these?), and various unidentifiable chargers (I couldn't even recognize the connectors!).
But! This process is really meaningful because you'll discover just how many unused items you've been hoarding. Take this opportunity to properly declutter and get rid of all those "might need it someday" items (I know it hurts, but you have to be ruthless!). Trust me, once you're done cleaning, just the space you've freed up in the closet will be enough to amaze you.
Space Planning
When it comes to space planning, careful calculation is essential. Most home closets are about 60 centimeters deep, which is actually perfect. You might think it's too narrow, but here's a professional fact: according to ergonomic studies, an adult only needs 45-50 centimeters of desk depth for computer work. So 60 centimeters actually feels quite luxurious!
Think about it - modern laptops are so slim, monitors are getting narrower, and with wireless keyboards and mice, they really don't take up much space. After using it for so long, I find this depth just right - neither cramped nor wasteful.
As for width, standard closets are usually around 1.2 meters wide, which is perfect! Standard office desks are also about 1.2 meters wide, which is completely sufficient for daily use. Plus, you know what's great about small spaces? Everything is within arm's reach - no more spinning in your chair to find documents.
Lighting Design
This is truly an art! At first, I thought I could just install any light, but I almost ruined my eyes. Initially, I installed a small spotlight on the ceiling, thinking I was so clever. But what happened? After working for a short while, my eyes felt extremely tired, and there was an inexplicable feeling of oppression.
Later I finally figured it out - the light was too concentrated and at the wrong angle. Did you know that when working, light should come from the side or at a 45-degree angle from the front? This prevents glare and shadows. So I later installed adjustable LED wall lamps on both sides, with soft light and adjustable brightness, which instantly brightened up the whole space.
I also discovered a trick: placing a strip of warm LED lights under the wall lamps not only adds ambiance but also creates a cozy atmosphere when working at night. Sometimes I just turn on these light strips and zone out, feeling completely relaxed.
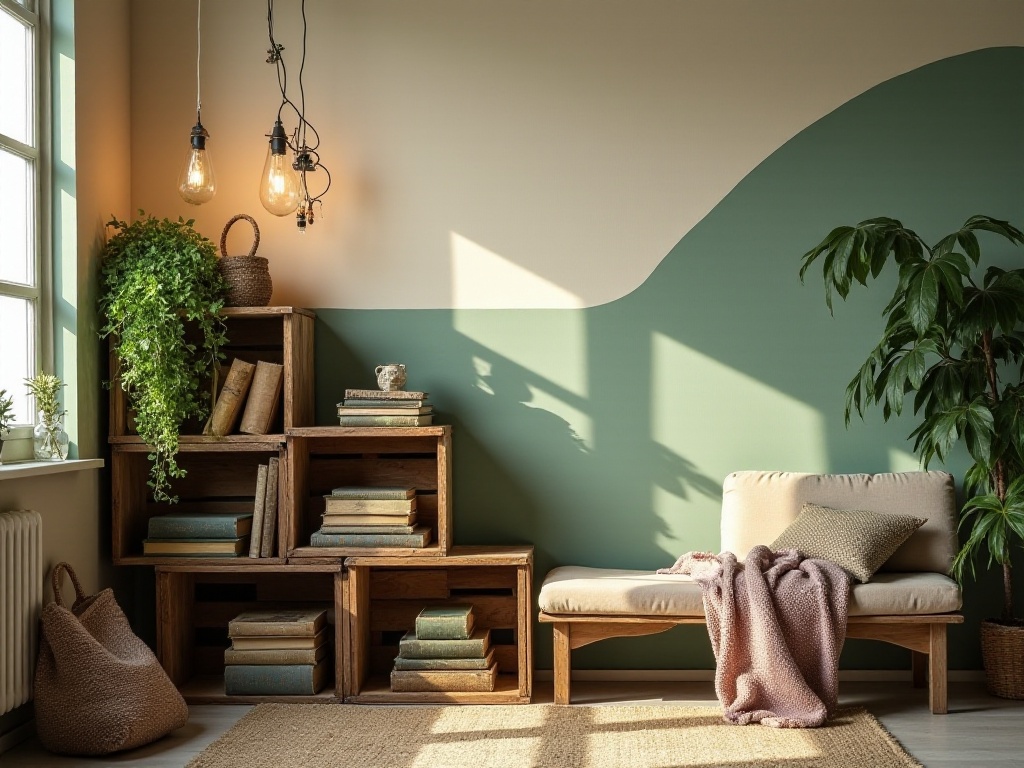
Storage Solutions
Wall Utilization
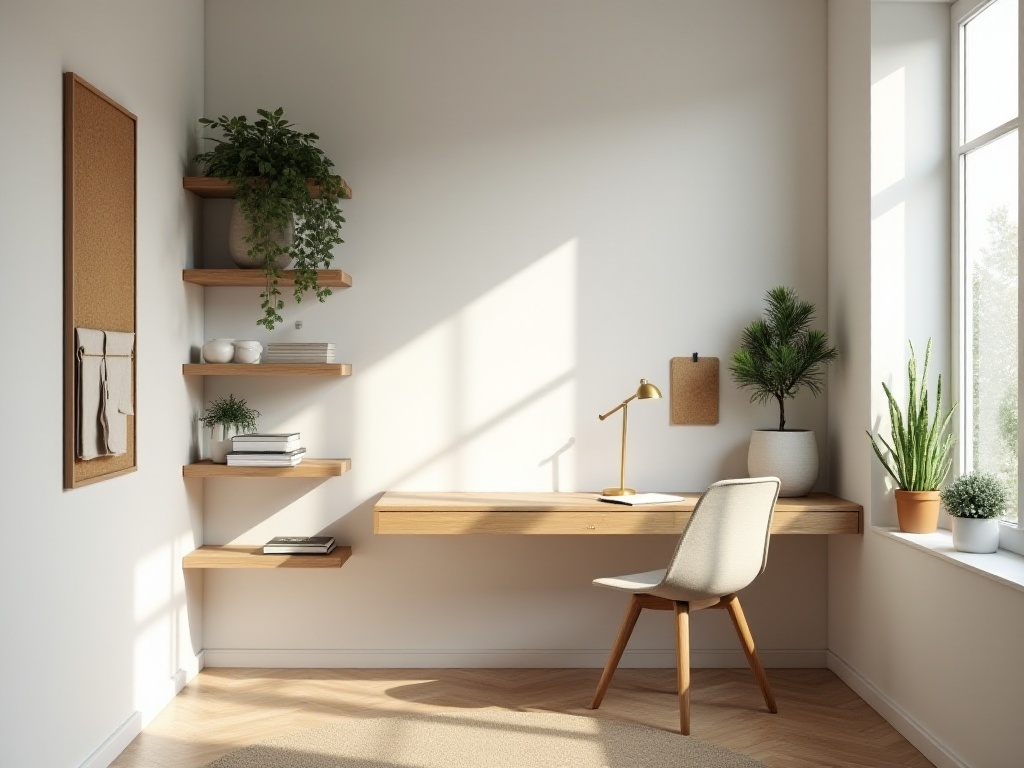
Honestly, when I actually started planning the wall space, I realized how much you can fit into a 1.2-meter wall! I installed three shelves on both side walls, at heights of 40cm, 80cm, and 120cm above the desk. These intervals are perfect for A4 folders, and the monitor can be easily mounted at an appropriate eye level.
I also hung a 60×90cm cork board on one wall, which is super useful! You can pin important documents, schedules, and sticky notes on it. The amazing thing is, I never forget important tasks anymore because they're right there in front of me.
Also, I left a 30cm space between the desk and the first shelf specifically for a desk lamp and frequently used stationery. This design is not only practical but looks very neat.
By the way, wall color is important too. I chose light gray, which isn't too oppressive and doesn't create glare. Plus, this color goes well with everything, whether it's natural wood shelves or white storage boxes.
Desk Design
Now, the desk design is what I'm most proud of! To be honest, I saved quite a bit of money here. I bought an 80cm×45cm solid wood board from the building materials market, had them cut it to size, and applied three coats of waterproof varnish. With two foldable L-shaped brackets, the entire desk setup only cost 150 yuan!
The best part of this design is that it's foldable. When you're not working, just fold the brackets and lower the desktop, and it instantly turns back into a regular closet. I specifically chose brackets with locks, making it very stable when folded - no worries about it falling.
I made a small modification to the desk: I cut a semi-circular notch where it meets the wall, so various cables can pass through from behind, making everything look neat. I also added a leather desk pad, which feels great and prevents scratches on the desktop.
Practical Tips
Ventilation
This is really important! Since you're working in an enclosed space, ventilation needs careful consideration. I drilled several 5cm diameter ventilation holes in the cabinet door, positioned at the top, middle, and bottom, allowing for natural air circulation.
But that's not enough - I also installed a 5-inch USB fan at the top. This fan is amazing, especially in summer when working doesn't feel stuffy at all. It's USB-powered, so it can plug directly into your computer without needing separate wiring.
I discovered an unexpected bonus: these ventilation holes not only solved the air circulation issue but also gave the whole space an industrial feel, which looks really cool!
Cable Management
Honestly, dealing with various cables was my biggest headache. Computer power, monitor cables, desk lamp charging - all these cables tangled together was a nightmare. But I finally found the perfect solution.
First, I made a 6cm diameter cable hole behind the desk, just right for passing through various cables. Then I bought a cable management box to house the power strip, so there aren't cables flying around on the desk.
I also used cable organizers and velcro ties to secure the cables under the desk. This not only looks neat but also makes cleaning much easier. Most importantly, no more worrying about tangled cables!
Oh, and I also left some cable holes in the shelves, so charging cables for electronic devices stored above can be neatly organized. Trust me, when you get all the cables organized neatly, that feeling of satisfaction is indescribable!
Cost Breakdown
Come on, let me break down exactly how much this entire renovation cost. I kept track of every expense:
Shelf materials cost 200 yuan: - Three 60×30 solid wood boards: 50 yuan each - One cork board: 50 yuan
Lighting equipment cost 300 yuan: - Two LED wall lamps: 100 yuan each - One LED strip: 50 yuan - USB fan: 50 yuan
Desk materials cost 150 yuan: - Solid wood board: 100 yuan - Waterproof varnish: 30 yuan - Desk pad: 20 yuan
Hardware cost 200 yuan: - Folding brackets: 80 yuan - Shelf brackets: 60 yuan - Screws and expansion bolts: 30 yuan - Cable grommet accessories: 30 yuan
Other accessories cost 150 yuan: - Cable management box: 40 yuan - Cable organizers: 30 yuan - Decorative items: 50 yuan - Stationery storage: 30 yuan
The total comes to less than 1000 yuan! Think about it - a regular study room renovation easily costs tens of thousands, so this is incredibly cost-effective!
Final Thoughts
Honestly, after completing this renovation, I was truly amazed. Every corner of your home holds such great potential; the key is to discover and utilize it thoughtfully. Now I work in this little space every day, and it feels very ceremonial - my work efficiency is actually higher than in open spaces.
However, I should remind everyone: if you're planning to do this renovation, definitely draw a design plan first. I was too eager to start and had to redo several areas - the shelf heights and desk dimensions all needed adjustment, which was a waste of time and money.
So I recommend measuring everything carefully on paper first, making a clear materials list, and planning where everything will go. This way, you can get it right the first time. Plus, when buying materials, you can be more targeted and won't buy too much or too little.
Finally, I want to say that this type of renovation is perfect for young renters. All the modifications are reversible - when moving, just dismantle everything and the closet returns to normal, so landlords can't complain. And with such low costs, you won't feel bad if you can't take it with you when moving.
Do you have an unused closet at home? Want to try this kind of renovation? I guarantee that once you do it, you'll fall in love with this personal space. If you've already done a similar renovation, please share your experience in the comments. Your solution might be even more brilliant than mine! After all, when ideas collide, unexpected sparks often fly!


