Introduction
Recently, I've been incredibly frustrated with my furniture at home! Looking at those peeling tables and yellowing cabinets every day has been driving me crazy. The price tags of new furniture, often exceeding $10,000, are especially daunting for a recent graduate like me. However, I've finally figured things out and discovered some super practical furniture renovation tricks that I'd like to share with everyone today.
Treasure Hunting Strategy
I used to completely dismiss second-hand markets, thinking used items were old and dirty, not knowing who had used them before. Then one day, I saw a seller on Xianyu urgently selling a solid wood tea table for just $180! I bought it with a "why not try" attitude.
When I received the tea table, I was amazed. Despite some surface scratches, the wood quality was excellent, and the craftsmanship was very refined. After some simple maintenance and placing it in my living room, it immediately elevated the entire space. Now, every time friends visit, they spend quite a while complimenting it, asking if it's from some luxury brand - that feeling is incredible.
Since then, I've become a regular on second-hand platforms. You can find many treasures on platforms like Xianyu, Zhuanzhuan, and Xianyu. The other day, I saw someone selling an old elm wood bookshelf for just $60, with absolutely gorgeous wood grain that screamed quality. Though it had some surface wear, with simple sanding and painting, it could instantly upgrade your home's style by several levels.
I've also noticed that many sellers are offering low prices due to moving or renovation, so if you're patient, you can always find good deals. I suggest spending ten minutes daily browsing these platforms, especially in the morning and evening when most new items are listed.
Renovation Tips
When it comes to furniture renovation, painting is the simplest and most direct method. However, I must share some pitfalls I've encountered. I remember my first renovation attempt - I impulsively bought a can of supposedly good water-based paint. And guess what? I applied it directly to the furniture, resulting in an uneven finish that looked like leopard spots.
Later, I learned that you must always test first. I recommend trying it on the back or an inconspicuous corner of the furniture. This helps test not only the paint's effect but also whether there might be issues like peeling or discoloration.
Different materials require different types of paint. Wood furniture needs specific wood paint, metal furniture needs rust-proof paint, and plastic furniture needs special plastic paint. Now I make a habit of reading online reviews and choosing well-reviewed products. Though they might cost a few dozen dollars more, at least you won't need to redo the work.
Preparation before painting is also crucial. First, sand the surface smooth, then carefully wipe it clean with a cloth. For wooden furniture, it's best to spray some insecticide to prevent any bugs inside. When painting, focus on even application - it's better to apply multiple thin coats for better results.
IKEA Hacks
When discussing furniture renovation, we can't skip IKEA. IKEA furniture is a renovator's paradise! Take their BILLY bookcase for example - originally priced at $299, but after renovation, it can rival custom-made cabinets costing thousands.
I recently renovated a BILLY bookcase, and I amazed myself. First, I measured the room height, then bought some boards from the hardware store to extend the bookcase to the ceiling. Then I added decorative trim to the front, making it look extra refined. Finally, I sprayed it with cream-colored paint, and the result was incredible!
The entire renovation process wasn't actually complicated. First, secure the bookcase well - I used several L-brackets to fix it firmly to the wall. Then install the extension boards on top, which is slightly tricky, so you might want to ask a friend for help. The decorative trim was attached with a glue gun, which was very convenient. When painting, be careful to cover surrounding areas to avoid staining the floor.
IKEA furniture has another advantage - there are tons of renovation tutorials online. For example, their LACK side table, costing only $39, has been transformed into a vintage industrial-style side table that looks amazing. The RAST three-drawer chest, at $69, can be renovated to look identical to certain luxury brand cabinets.
Lighting Arrangement
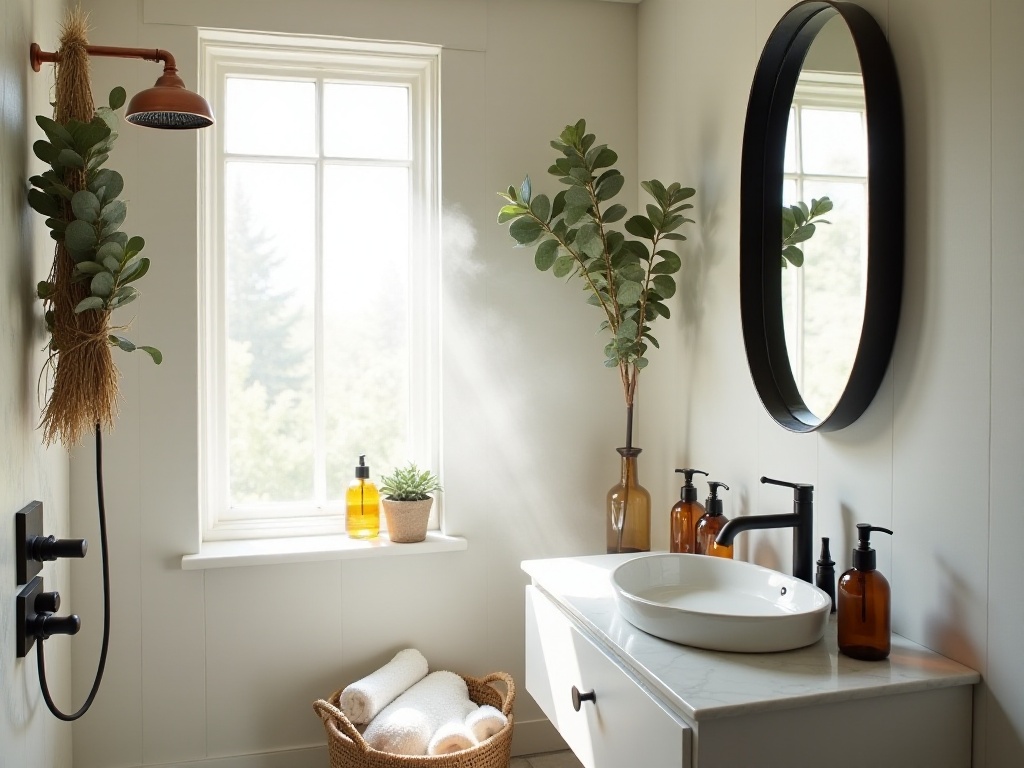
I've noticed many people overlook a crucial detail when renovating furniture - lighting. Actually, proper lighting can instantly double your furniture's aesthetic appeal.
The most basic is installing motion sensor night lights in the hallway. I bought several small night lights on Xianyu, each costing just over $20. Installation is super simple - just stick them on the wall. No more fumbling in the dark for bathroom trips at night, plus the soft light creates a great ambiance.
Adding spotlights to bookcases is also a great choice. I bought several battery-powered small spotlights online, $30 each, installed them at the top of the bookcase, and it instantly looked more upscale. The advantage of these lights is that they don't need wiring and can be adjusted anytime.
If budget allows, consider getting some smart bulbs. I replaced the bulb in my study with one that can adjust color temperature - cool light for studying during the day, warm light for relaxing at night - it's incredibly comfortable. Though each bulb costs $70-80, it's really worth it.

Material Combinations
When it comes to making furniture look high-end, material combinations are crucial. I've observed many high-end showrooms and noticed they all pay special attention to layering different materials.
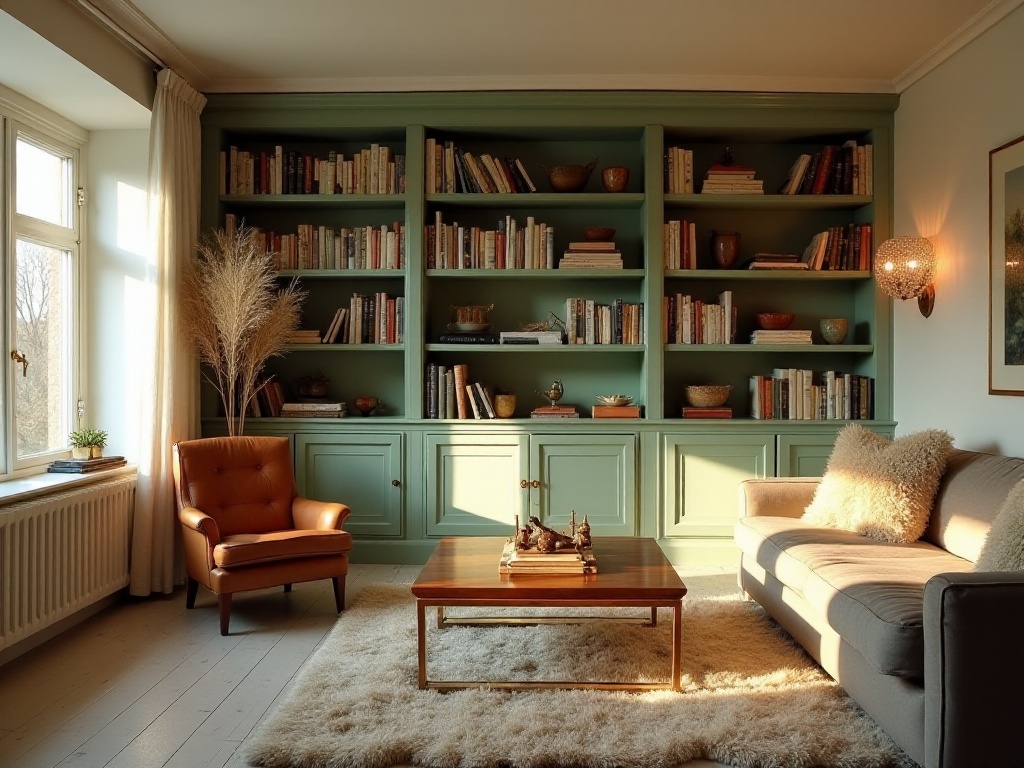
Take my sofa for example - it was an ordinary fabric sofa, but I added a faux wool throw and some velvet cushions, and it was immediately transformed. The throw was bought online for about $90, with surprisingly good texture. The cushion covers were from IKEA, around $40, in very gentle colors.
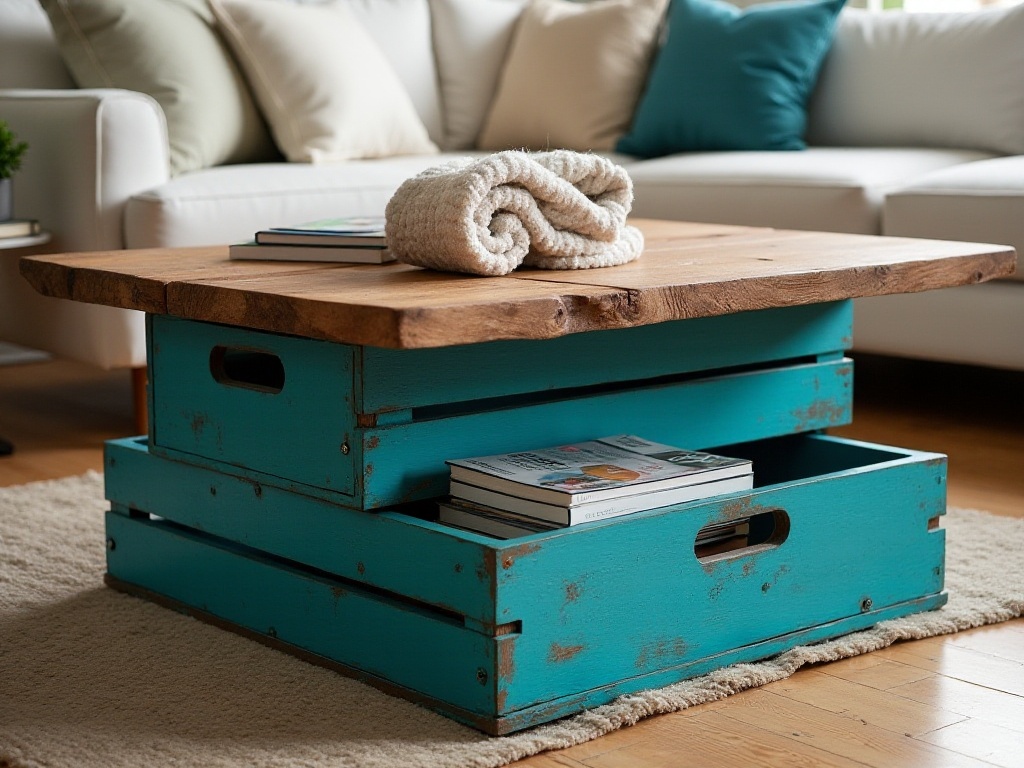
On the coffee table, I placed a rattan storage basket for magazines and remotes - both practical and attractive. I bought the basket when shopping in Japan for over $70, which seemed a bit expensive at the time, but it really adds value to the room.
Curtains are also an important element. My original curtains were ordinary blackout fabric, but I later switched to a double layer: white sheers inside and linen blackout curtains outside. Though it cost nearly $200, the effect is really wonderful, especially when sunlight filters through the sheers, bathing the entire room in soft light.
Kitchen Tips
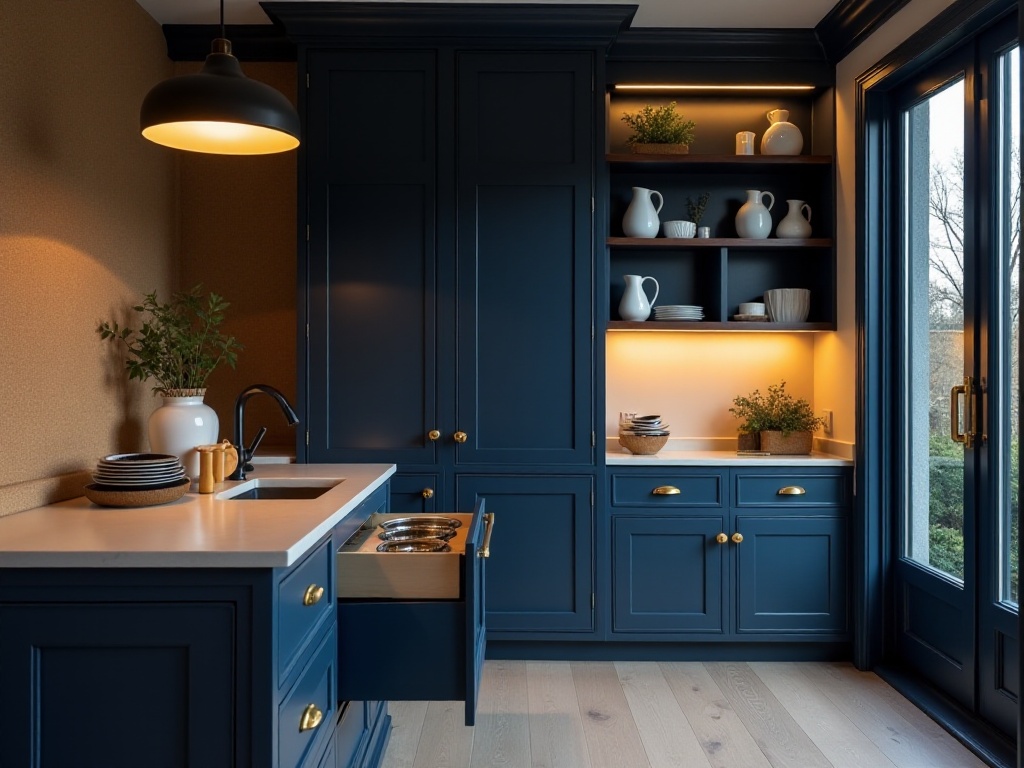
The kitchen might be the space that tests one's wisdom the most. Because space is limited, every inch must be fully utilized. I recently did a particularly practical renovation - customizing a drawer under the cabinet specifically for my dog's food bowls.
I actually got this idea from YouTube. I found a local carpenter and explained my needs. He used a waterproof board to make a pullout base with two circular holes perfectly sized for my dog's stainless steel food bowls. When pushed in, it's completely hidden, and you just pull it out when needed.
The whole renovation cost $300, but it was totally worth it. It not only solved the space issue of the food bowls but also made the kitchen look much neater. Plus, my dog loves it and stands there waiting for me to pull out the drawer at mealtimes.
Besides this, I've done many small renovations in the kitchen. For example, I installed a wall-mounted dish drying rack next to the sink, so washed dishes can drain directly, saving counter space and being more hygienic. This drying rack was bought online for less than $50 and was very easy to install.
I also renovated the inside of the cabinets. Bought several transparent storage boxes to organize seasonings and snacks. Though these storage boxes cost nearly $100 in total, every time I open the cabinets and see everything neatly organized, it makes me feel great.
Practical Upgrades
The desk renovation is one of my proudest achievements. The original desktop had many scratches that really affected my mood. Then I had an inspiration and bought several cork pads to stick on top. This renovation only cost $50, but the effect was surprisingly good.
The cork pads not only covered the scratches but also serve as a bulletin board. I often stick important post-it notes on it, so I never worry about forgetting important things anymore. Plus, the cork texture feels great and is very comfortable to use.
Besides the desk, I also upgraded the wardrobe. I installed several hooks on the wardrobe door specifically for hanging bags and hats. These hooks were bought from the hardware store, costing just a few dollars each, but they're very practical. And since they're removable, it's easy to change their position later.
I also renovated the bedside table. Originally it had a simple drawer, but I added a divider inside, so I can put frequently used items on top and less used items below. This renovation used a piece of wood that cost about $20, but it made organizing things much more convenient.
Final Thoughts
Through this series of renovations, I've deeply realized that creating a cozy and comfortable home doesn't require spending a lot of money. The key is to think creatively and discover little wisdom in daily life.
Sometimes a small change can bring unexpected effects. Like adding a small plant to a bookshelf, or changing a sofa cushion cover - these seemingly minor changes can make a home feel warmer.
Most importantly, remember that renovation isn't something that happens overnight. You can start from one small corner and take it slowly, letting each change be filled with anticipation. After all, a home is for living in, not for show. As long as it's comfortable to live in, that's what really matters.
So, if you're also worried about your furniture, try starting with small changes and make gradual improvements. I believe you can create a home that's both budget-friendly and cozy. I look forward to seeing more people share their renovation experiences, and let's create our ideal living spaces together!


